In Matt's post he also includes a list of valuable tips for this feature, like how you can use translucent colors, and make a temporary color change to identify objects that may be on incorrect layers.
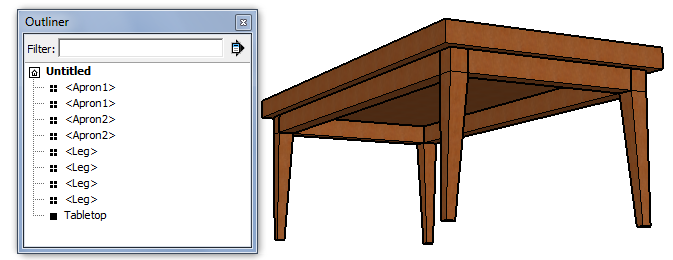
I thought here I would show a very simple example of what Color by Layer looks like. I modeled a very basic table, whose top is a group, legs are identical components, and the two aprons are also components.

In the Layers window I added three layers - one each for aprons, legs, and tabletop. Each layer has its own color, which could be changed by clicking the color square.
Objects are assigned to layers in the Entity Info window. But in this view, it's impossible to tell which objects are assigned where - all objects are painted with the same wood material.
To view each object in its layer's color, use the Styles window: Click the Edit tab, open the Modeling settings, and click Color by Layer. (You can also do this in the Layers window, by toggling on and off the Color by Layer option in the menu that appears when you click the Details arrow.)
That's it!
Be sure to click over to Matt's post for more details about Color by Layer.
Anyone can design anything in 3D! http://www.3dvinci.net/


No comments:
Post a Comment