As with most plug-ins, once you download the files (in this case, a couple of RB files plus a folder with the cursor icon), place everything (unzip if needed, keep the folder structure) in the Plugins folder of your SketchUp installation folder.
Here's a couple of ways I used PathCopy:
First up is a curvy room with space for two levels of chairs that face inward. I got the folding chair from the 3D Warehouse, and it's a component in my model.
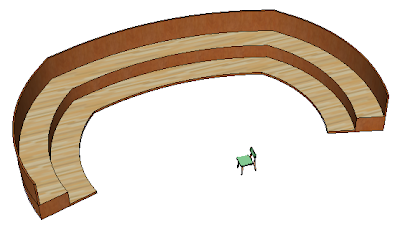
This plug-in needs a path, so I used the Offset tool to create two sets of curves parallel to the back walls. The back legs of the chair will be placed on these curves, so the curves are pretty close to the walls.
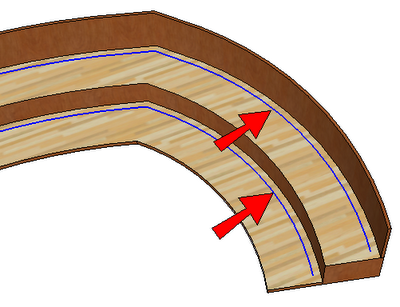
PathCopy can only take a single path. So I used the Weld plug-in to join each path's segments into a single path. So for this model, PathCopy will need to be used twice: once for each of the two paths.
Here's a very important step, and it took me a few tries before I figured this out. For the object that will be copied, its red axis will go along the path. I'm not sure how this works for a group, but for a component it's easy: just right-click on the component and choose Change Axes. My red axis goes between the two back legs, and the green axis is set so that the blue axis will be vertical (otherwise the chairs will go upside-down).
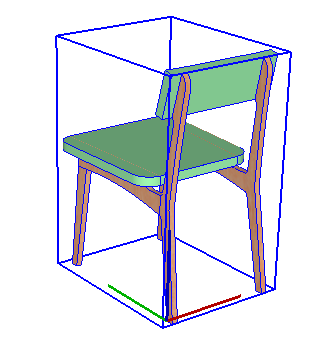
To start the plug-in, choose Plugins / Copy Along Path / Copy to Spacing. The default spacing appears in the "Distance between" field. You can enter a new spacing, or you can change it after the copies are made.

Click the path (I'm starting with the one on the upper level).
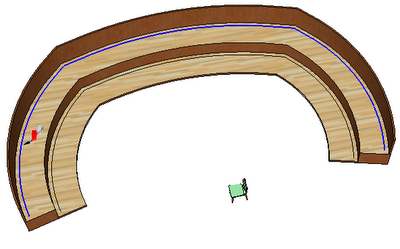
Then click the object to copy (the chair component).
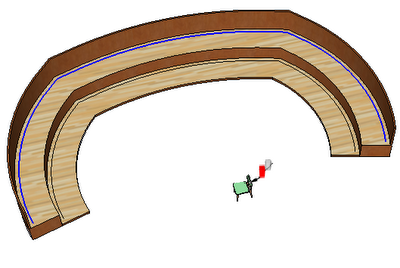
Done! The back legs go along the path, with a chair spacing of 3'-6".
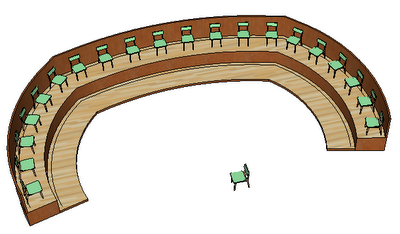
I want fewer chairs, so I entered 5' and got my new spacing.
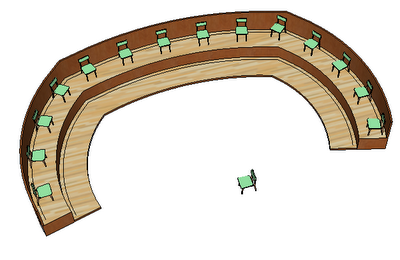
Using the plug-in again for the lower level, the 5' spacing is now the default.
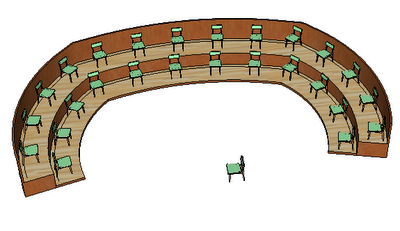
Once done, you could erase or hide the paths and the extra component.
The other PathCopy option is Copy to Path Nodes. I didn't have much luck with this one - the orientation of each component didn't change with respect to the path. (Every chair ended up facing the same way.) If anyone has used this option and can tell me what I'm missing, please let me know!
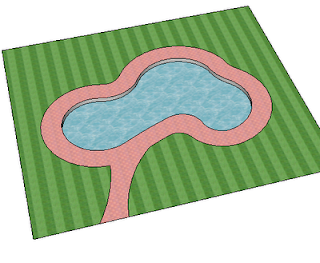
Here's the other model I tried, an oddly-shaped pool that needs a fence around it.
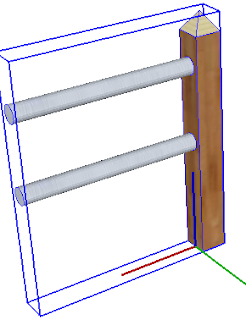
Here's the fence component, which I made 4' wide end-to-end. When creating a component, one of the options is Set Axes, and my red axis starts at the midpoint of the fence post, and proceeds in the same direction as the fence itself.
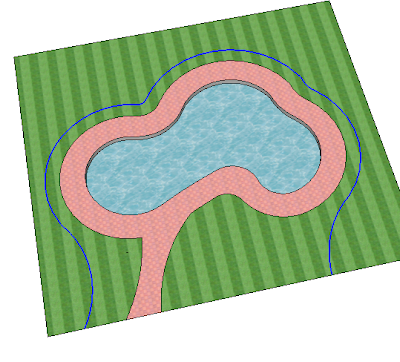
I created the fence path using the Offset tool, adding some arcs to include more of the yard, and using Weld to fuse the curves into a single path.
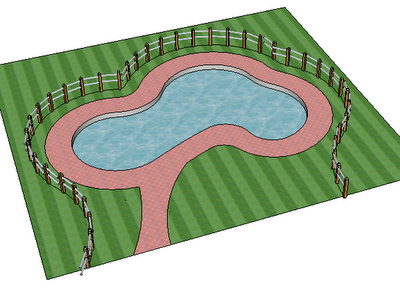
Using the Copy to Spacing option, with a spacing of 4', here's my fence. This would be an enormous pain to create without the PathCopy plug-in.
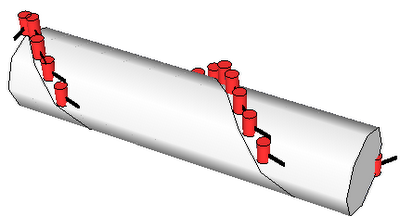
I tried using a 3D path - no luck. It seems that objects can orient themselves in the red-green plane, but the blue orientation does not change.
Again, here's where you can get this neat plug-in.
Anyone can design anything in 3D! http://www.3dvinci.net/

No comments:
Post a Comment