Friday, November 22, 2013

I'm Hooked on 3D Printing

Yesterday I got a very nice delivery - the FedEx guy knocked on my door with an Afinia 3D printer. One of my upcoming releases will be a project book on SketchUp for 3D printing projects, and John Westrum from Afinia is a strong supporter of this project. So he agreed to lend me one of their printers so I could test out the projects I'm writing up. So now I'm like a kid with a new toy, and I'm obsessed!

(As as aside, I wanted to try a variety of printers for this book, and approached MakerBot and Cubify as well. No response, hmmmm.)

Anyway, I've had a small problem in my kitchen for a while, and I always thought that my first 3D printing project would a solution for this.

We never put a "real" tile backsplash behind our sink, and over time our kids have made 6" x 6" tiles at the local paint-your-own-pottery place, and we've decorated with those. And until now I used Velcro strips to attach them to the wall. But for the tiles right behind the sink, moisture gets into the Velcro, the stickiness gets lost, and the tiles fall (sometimes loudly, but they've never broken). So I wanted to create some little supports so that the tiles could just lean back against the wall.


So in SketchUp, I modeled the wall and one tile. Exact dimensions are important when doing this!

 
I rotated the tile 2 degrees, made its top back edge touch the wall, and moved it up 1/4".
  
I created a block 1/2" on all three sides.
  

I used the Intersect Faces tool to get the intersection edges on one side of the block.


I hid everything but the block.
  
I thought (mistakenly as it turns out, but it's all about trial and error) that a 1mm gap would ensure that the tile would fit better. So I used the Offset tool to create a 1 mm offset around the hole.
  
I cleaned up the edges, and used Push/Pull to create the groove.

  
I used the STL Export plugin (it's free and available in the Extension Warehouse, works with the free version of SketchUp) to save the model as an STL file. (SketchUp Pro has STL export built in.)

Setting up the printer was pretty easy, considering I've never done this before (I've seen printers in action but never used one). Here's how it looks before I got it all going. It took maybe 90 minutes to get the spool and plastic thread set up, the calibrations (nozzle height, platform height and levels) just right, and to attach the perforated board to the printing platform. 


The printer has accompanying software that reads your STL file, and has options for moving, rotating, and scaling it. So you can't make significant changes to a model here, but you can do some little things. Here's my first attempt with my support: oops - the piece moved after a few layers, making the rest of the layers sort of go all over the place.

  
So I raised the nozzle 1mm, made sure to heat the platform for longer (maybe I hadn't reached 90 degrees C, not sure!), and my second attempt was perfect. It took about 17 minutes to print.

  
The frilly-looking bits on the bottom are the model's "raft." If you print on perf board as I did (because it was included with the printer), you should use a raft, which is extra, low-density material that can easily be removed later. It means you're not printing directly on the perf board, which would probably result in the bottom surface not being entirely smooth. I was a little confused about the whole raft concept, but turns out Afinia's software adds one automatically so there's no raft-planning needed.

And this is how easily the raft is separated from the model:


You can mostly tear off the raft by hand, and more stubborn bits can be removed with a knife (I never had to use a knife).

So when I tried out this support, it was a dud. The tile didn't lean far enough (just 2 degrees, what was I thinking), and could easily fall forward.

  
So back to the drawing board (aka SketchUp). This time I rotated the tile 5 degrees, resulting in a longer support. I also made the whole support shorter. And I didn't offset the groove - when I had that extra 1 mm all around, the tile was able to wiggle.


Success!  The tile fits perfectly . . .


. . . and leans against the wall on its own. It also took about 17 minutes to print: it's longer but a bit shorter.


I got three plastic spools from Afinia: white, black and red. Black supports will look much better with the dark counter in my kitchen, so I switched the spools - a process that took maybe 10 minutes (mostly waiting for things to heat up). And instead of printing out just one support, I thought I'd try three, so I could make sure they'd work spaced as shown below. They did!


So I printed out five more, and here's my improved kitchen! You can't see the supports but they're there, and doing their job. What's great is that we can easily switch them out, when the kids bring home more tiles.


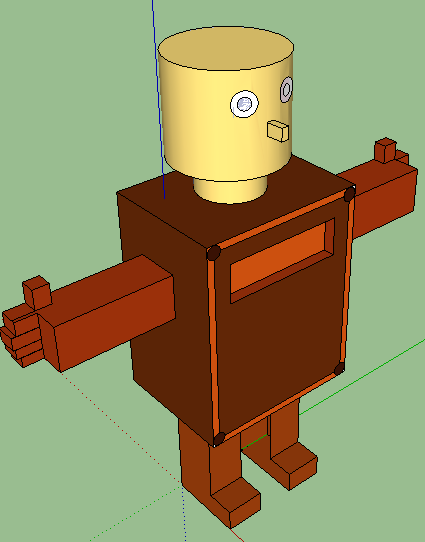
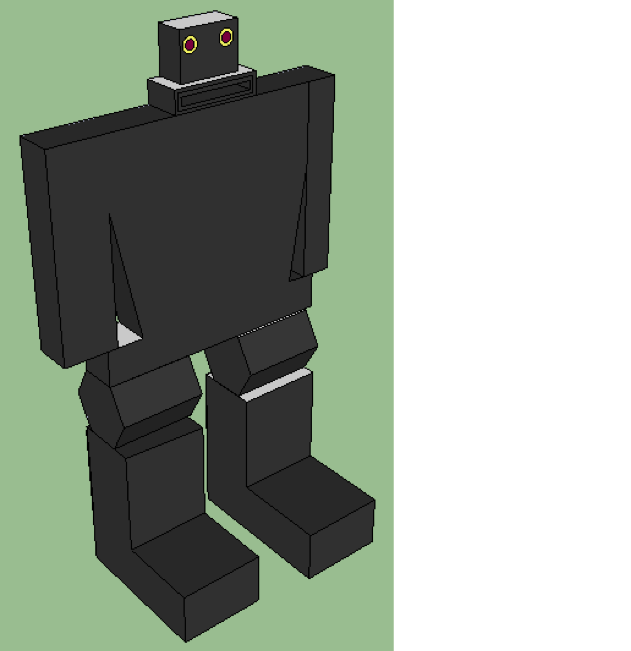
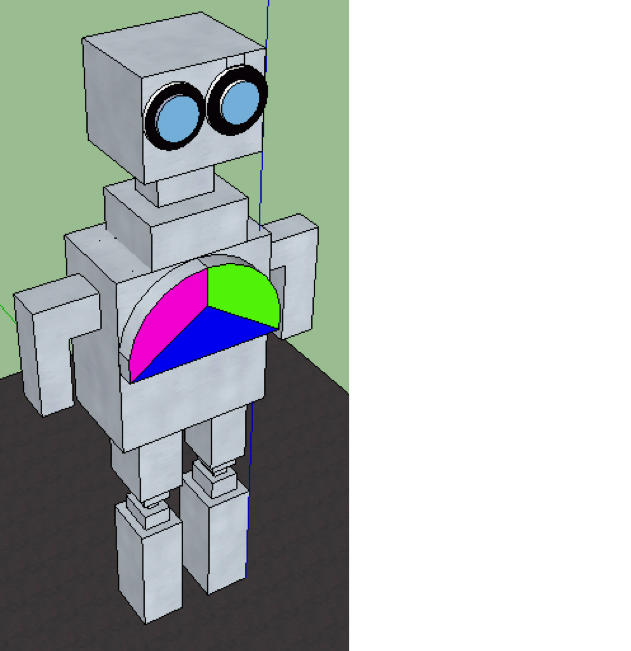
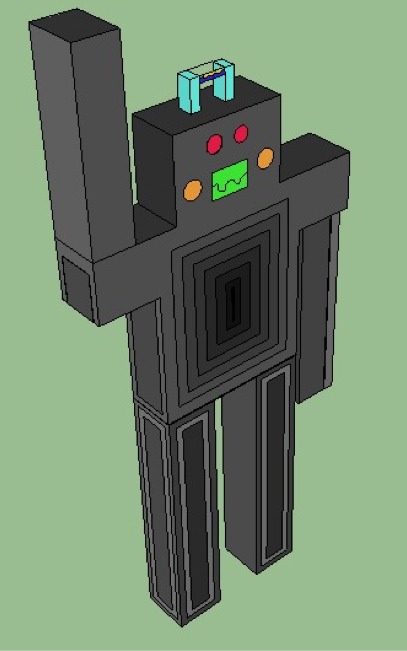
Here's another thing I printed out, something I found from Thingiverse, just something cute for the kids:


Stay tuned for news on the 3D printing book. Suggestions welcome!


Anyone can design anything in 3D! http://www.3dvinci.net/

Email Newsletter icon, E-mail Newsletter icon, Email List icon, E-mail List icon
Join our FREE Email Mailing List!


Thursday, November 7, 2013

What's Coming in Our November Projects?

Twisting is the theme this month, in this set of fun projects! If you're a subscriber to our Projects of the Month (and why wouldn't you be at just $24.95 for 12 months?), here's what you'll get to create while the weather outside is growing colder:

Double Helix

We've done DNA projects before, but this one has a twist, literally. With the help of the can't-live-without FredoScale plugin, you can take a normal-looking ladder . . .

 . . . and twist it into DNA building blocks.


Candy Cane

Maybe it's a little early in the season for this one, but since we're already getting into the FredoScale plugin, here's another twisty model that plugin can help make. All you need to start with is a simple cylinder.

Zigzag Face

Since we're off-season already, maybe this one should have been included last month, for Halloween. In this project, which also involves twisting, you can take a "normal" face and give it a zigzag border. Kinda creepy, right?


Anyone can design anything in 3D! http://www.3dvinci.net/

Email Newsletter icon, E-mail Newsletter icon, Email List icon, E-mail List icon
Join our FREE Email Mailing List!


Wednesday, October 16, 2013

Humanoid SketchUp Robots by 7th Graders

I recently got an email from teacher named Byron Banks from Ridge Middle School in Mentor, Ohio. His 7th and 8th graders had been using SketchUp for a couple of weeks, the 8th graders working on architectural models, and the 7th graders designing robots. 

He sent me a compilation of some of the robot designs, using Flowboard for iPad, All of them are really fun, and here are some of my favorites:


And I especially like this happy guy:


Now all they need to do is get a 3D printer and make these things real!


Anyone can design anything in 3D! http://www.3dvinci.net/

Email Newsletter icon, E-mail Newsletter icon, Email List icon, E-mail List icon
Join our FREE Email Mailing List!


Tuesday, October 8, 2013

What's Coming in Our October Projects? (How About a Little Minecraft?)

I had a booth last week at a local Maker Faire, where one of the SketchUp models I had on-screen contained Minecraft blocks. So for five hours, I heard "MINECRAFT!!!!" followed by a stampede of small feet toward one of our laptops, and a request to learn how to build something. Exhausting, but fun.

When I explained that SketchUp only makes "stand-still" models, you can't actually play with the blocks like you do in Minecraft itself, I thought the kids might get discouraged. Not so. They sat quietly assembling blocks into houses, fortresses, towers, and more, and usually got up reluctantly when their parents told them it was time to move on (and to give a turn to the kids lining up!)

So I thought I'd try a Minecraft project this month, as well as a timely pumpkin model, for our Projects of the Month subscribers.

Minecraft House

This project actually has two parts: setup and build. The first project describes how to take an existing model of blocks from the 3D Warehouse and set it up so that you can easily use the blocks in future models. The second part shows how to use your setup starter model to make a house with windows, a roof, grass, and even a pool, using different kinds of blocks.


(Note again that this project creates a SketchUp model, NOT a building you can use in Minecraft. There IS a way to import SketchUp models into Minecraft, which will hopefully be the topic of an upcoming project book, but this project stays within SketchUp.)

Pumpkin

Just in time for Halloween, you can make your own 3D pumpkin. This project shows one technique of organic models - building a model in small steps that, put together, result in a smooth and natural-looking object.

If your kids (or you!) are Minecraft fans, this is a set of projects you don't want to miss! Still just $24.95 for a year, sign up for our Projects of the Month.

Anyone can design anything in 3D! http://www.3dvinci.net/

Email Newsletter icon, E-mail Newsletter icon, Email List icon, E-mail List icon
Join our FREE Email Mailing List!


Wednesday, September 4, 2013

What's Coming in Our September Projects?

Tis the season for sharpened pencils and fresh notebooks. But you'll still need some fun and educational computer activities to keep 'em occupied! Here's what's coming for subscribers to our Projects of the Month, going out next week. (Sign up now - just $24.95 for a year of 3 projects per month!)

Pillow Letters

I've used SketchUp's Sandbox tools for a lot of organic modeling, but never for something like this! This project shows how to use connected strings of letters to "pull up" text from a surface, resulting in something you might want to rest your head on.


Penrose Triangle

This famous illusion presents an "impossible" triangle. It's easy to draw in 2D, but how can you create something impossible in 3D?


Curvy Text

This project makes use of the amazing Shape Bender plugin. Among many other things, Shape Bender lets you start with a normal string of text:

And make it curve like this:


Why not sign up? You'll never be without ideas during computer time!


Anyone can design anything in 3D! http://www.3dvinci.net/

Email Newsletter icon, E-mail Newsletter icon, Email List icon, E-mail List icon
Join our FREE Email Mailing List!


Thursday, August 1, 2013

What's Coming in Our August Projects?

I've been pretty remiss on this blog lately, and it's not because there hasn't been much to write about. We have all of our books updated for SketchUp 2013, and that's taken up so much time there isn't much left for blogging. But I've also just finished the August projects for our Projects of the Month subscribers, and here's what they are:

Changing Traffic Light

In this project you start with a completed traffic light model and create an animation of the lights changing.


Trundle Bed 

This is the bed one of my kids wanted from a catalog, and since we're not buying it I thought a SketchUp model was the next best thing. The fun part of this project is learning how to fit the bed posts into the headboard and footboard.


Clock with Numbers

It looks easy, right? Not so fast! If you want each number to be in its exact spot around the clock, and be facing the right way, the component - swapping trick in this project will help.


Here's the link again to sign up: Projects of the Month.


Anyone can design anything in 3D! http://www.3dvinci.net/

Email Newsletter icon, E-mail Newsletter icon, Email List icon, E-mail List icon
Join our FREE Email Mailing List!